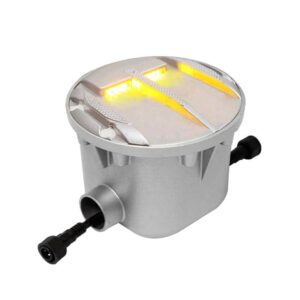
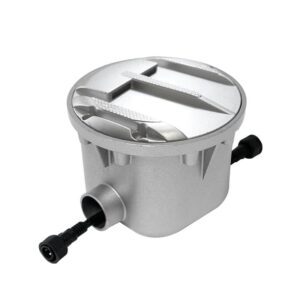
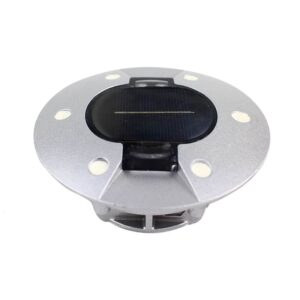
Polymer composite material + single-layer quartz pebble
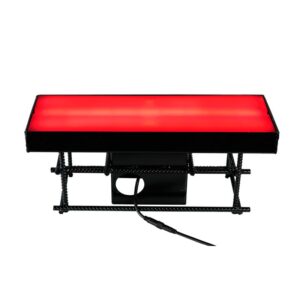
Led Brick size
300*300*50mm
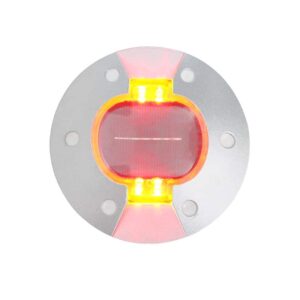
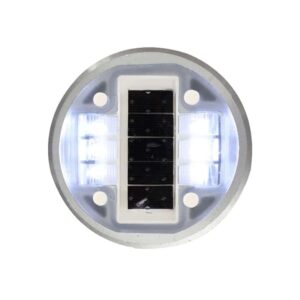
LED color
Red/Green/White/Custom
Light power
Red 9.8W,Green 7W , White 7.8W
Voltage
DC24V
Working temperature
-40℃~+80℃
Loading capacity
≥40 Tons
Waterproof
≥IP68
Led brick body water absorption
0.04%
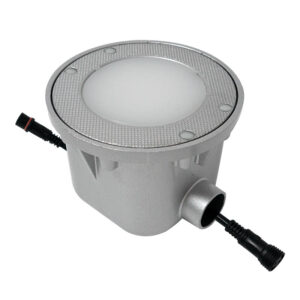
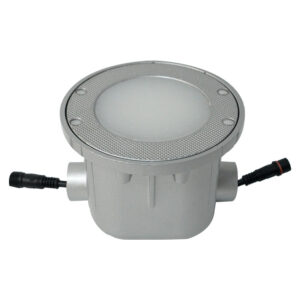
Ground Cage Embedded Parts
Material
Galvanized steel
Dimension
320mm*320mm
Control System
Input voltage
AC220V
Rated output voltage
DC24V
Rated output power
1400W
Standby power consumption
≤10W
INSTALLATION
Installation address(Recommend)
Crosswalk, Pedestrian waiting area, etc.
Installation method
Placing isolation equipment before installation to ensure the personal safety of staff.
Measuring, positioning, laying out.
Cutting and excavation of water stable layer. The excavation depth is 350mm; the excavation width is 700mm (corresponding to 400mm×200mm bricks) for the luminous bricks inlaid in the pedestrian waiting area, motor vehicle stop line, and zebra crossing; the excavation length is the overall length of the floor tiles to be laid, one row One-time laying of floor tiles.
Embedded embedded parts. The embedded parts include the hot-dip galvanized base and the cable protection tube of the size required by the project. The cable protection tube is cut to a suitable length and penetrated into the opening of the embedded part; The cable threading pipe is Φ50SC, and the cable threading pipe doubles as a drainage pipe.
Pre-embed the foundation of the control box and build a threading well.
Base with reinforcement.
After the concrete is poured, use a vibrating rod to make it uniform, and the concrete pouring height is 3cm lower than the ground.
Asphalt is laid 3cm from the ground. After the asphalt is laid, compact it with a small road roller or tamper.
Thread cables and install led brick.
Connect the 220V power supply and the traffic light signal to the control box and debug it.